Whether you’re updating a room, preparing your home for sale, or just craving a change of scenery, interior painting is one of the most cost-effective and rewarding DIY home improvements. A fresh coat of paint can completely transform a space—brightening dark corners, modernizing outdated color schemes, or adding a bold new personality to your walls.
In this post, we’ll walk you through what you need to get started, and some key tips to get a professional-looking finish—even if you’ve never picked up a paintbrush before.
Before You Start: What You’ll Need
Tools & Supplies:
Paint (of course!)
Primer (depending on surface and color)
Rollers and brushes
Painter’s tape
Drop cloths or plastic sheeting
Paint tray
Stir sticks
Sandpaper or sanding block
Ladder or step stool
Damp cloth or sponge for cleaning surfaces
Step-by-Step Interior Painting Guide
1. Choose Your Color Wisely
Don’t rush this part! Start with swatches and you can even test a few samples on your wall. Observe them in different lighting conditions.
Pro Tip: Paint a large square and live with it for a day or two before making your final decision.
2. Prep Like a Pro
Preparation is 80% of a successful paint job. Clean the walls, patch holes, sand rough spots, and protect your floors and furniture with drop cloths. Use painter’s tape to mask off baseboards, window frames, and outlets.
3. Prime When Needed
Primer helps with coverage and adhesion—especially if you’re painting over a dark color, glossy finish, or raw drywall. Some modern paints include primer, but in tricky situations, a separate primer is still a good idea. Make sure to prime any spots that you patched. The mud/spackle will not take the paint the same way the rest of the wall does and it will stand out if not primed.
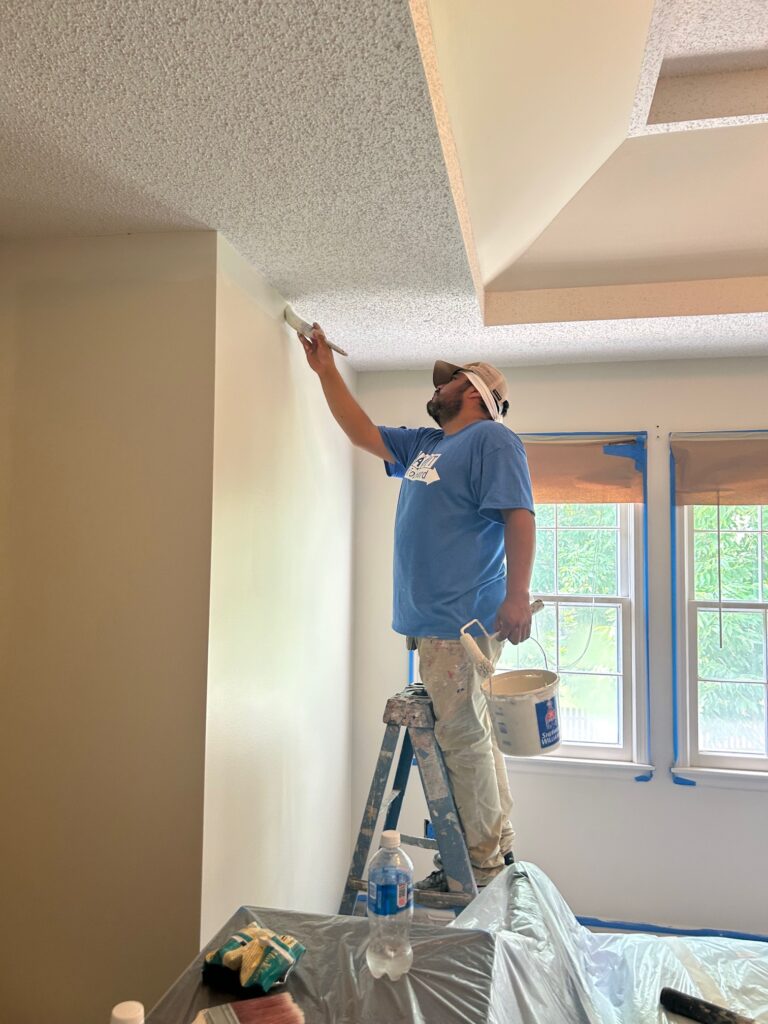
4. Cut In First
Start by using a brush to “cut in” around edges—corners, trim, and ceiling lines. This creates a border that you can then fill in with a roller.
5. Roll With It
Use a roller for the larger areas. Work in small sections using a “W” pattern to ensure even coverage and avoid streaks. Keep a wet edge to avoid lap marks.
6. Second Coat? Don’t Skip It
Most walls need at least two coats for a rich, even finish. Wait until the first coat is fully dry before applying the next.
7. Clean Up Carefully
Peel off painter’s tape before the paint fully dries to avoid chipping. Clean your brushes and store leftover paint in a cool, dry place for future touch-ups.
Interior Painting Mistakes to Avoid
Skipping the prep work: Don’t underestimate the power of a clean, smooth surface.
Using the wrong finish: Flat is great for ceilings, eggshell is ideal for walls, and satin or semi-gloss works well for trim.
Overloading the brush or roller: This causes drips and an uneven texture.
Painting in poor lighting: Always make sure you have enough light to see the true color and coverage.
Wrap-Up: Your Room, Reimagined
A successful paint job doesn’t just change the look of your room—it changes how you feel in it. Whether you’re going for cozy neutrals, bold feature walls, or a serene monochrome palette, the right color and clean application can breathe new life into your space.
So go ahead—grab that brush, pick your palette, and start painting your way to a refreshed and reimagined home.
Have questions or want color recommendations? Drop them in the comments!